QR Menu Creator: Build a Professional Digital Menu Step by Step
You want your menu live behind a QR code — not a PDF on a pinch-to-zoom nightmare, but a real digital menu guests enjoy using. This guide shows you how to choose the right QR menu creator, what to build first, how AI food photography changes your launch speed, and how to get the whole thing live before your next service.
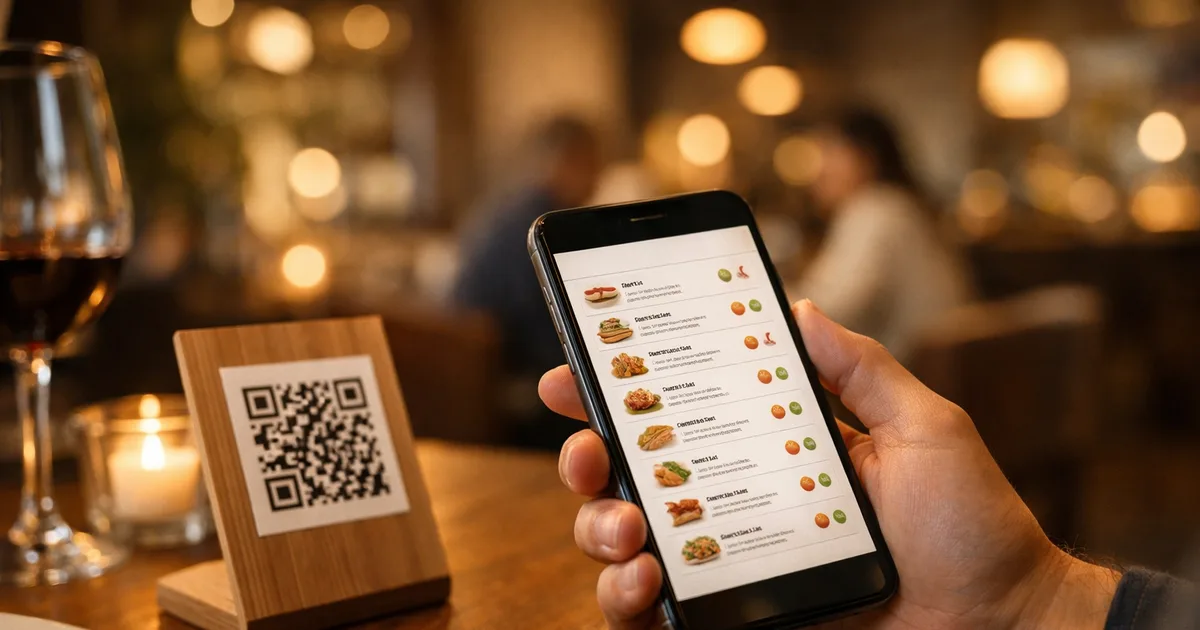
You know you need a QR menu creator for your restaurant. You’ve seen the codes everywhere — a small card on every table, guests pointing their phone at it, the menu loading in under a second. Now it’s your turn. The question isn’t whether to do it; it’s which creator to use, how long it actually takes to build, and whether the end result is genuinely worth the work.
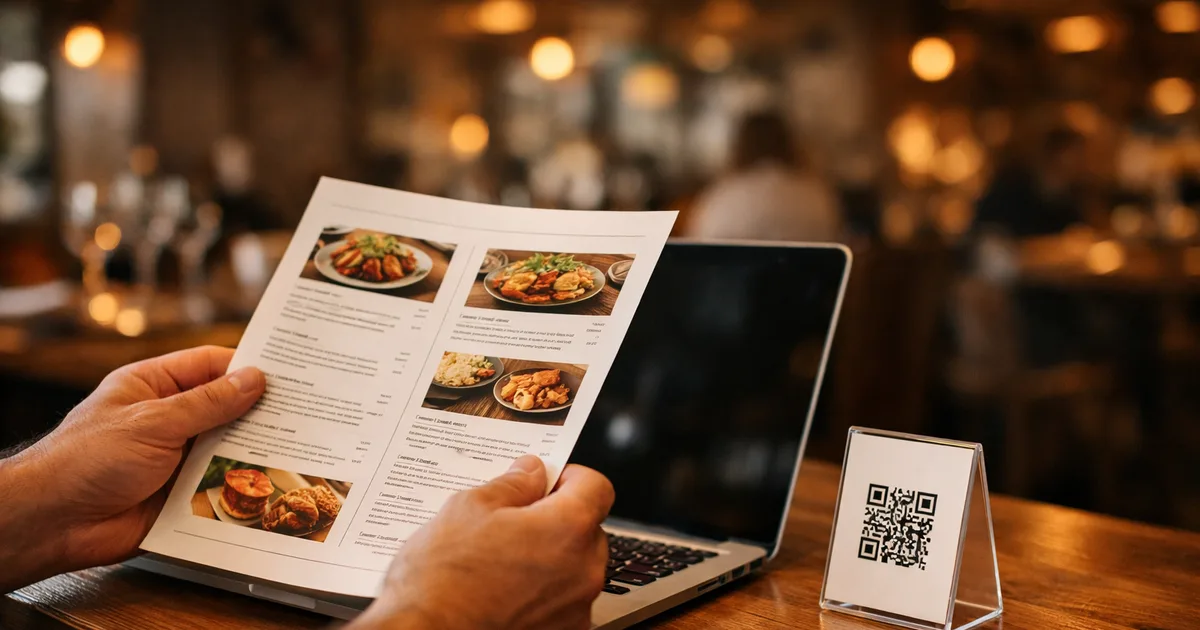
Here’s the reality: building a professional QR code menu should take you less than an hour. If it takes longer, you’re either using the wrong tool or overcomplicating the structure. And if the result is a PDF behind a code — a document guests have to pinch, scroll and zoom through on a phone screen — you’ve done the work for none of the payoff.
This guide walks you through what a proper QR menu creator does, what separates a good one from a shortcut, and how to build yours step by step.
TL;DR
- A QR menu creator builds a real, mobile-first digital menu — not a link to a PDF.
- The best ones include AI food photography so you can launch without a professional photographer.
- Allergen tags and multilingual menus are now table stakes, not optional extras.
- You can be live in under an hour with ShevaFood’s free plan — no credit card, no dev skills.
- For the full context on how QR menus work, see the Complete Guide to QR Code Menus for Restaurants.
What makes a great QR menu creator?
The best QR menu creator for a restaurant builds a dynamic, mobile-first menu page — one that updates instantly when prices or dishes change, requires no app from guests, and serves the same menu in multiple languages from one printed code. Tools that convert a PDF into a scannable link fail on almost every one of these points.
Here’s the line between a real creator and a shortcut:
- Dynamic, not static. Your QR code points to a live page, not a fixed file. Change a price, hide a dish, add a seasonal special — it’s live on every table the moment you save. No reprint, no re-export, no new code to cut and distribute.
- Mobile-first layout. A real menu is designed for phones: tappable categories, readable text at normal zoom, fast load even on a basic 4G connection. A PDF is designed for A4 paper and breaks on a 6-inch screen.
- Per-dish allergen tags. The Food Standards Agency requires written allergen information for food businesses across 14 named allergens in the UK; the EU, US states and other markets carry parallel requirements. A menu where allergens appear on each dish — not buried in small print — protects guests, protects your staff and keeps you on the right side of the rules.
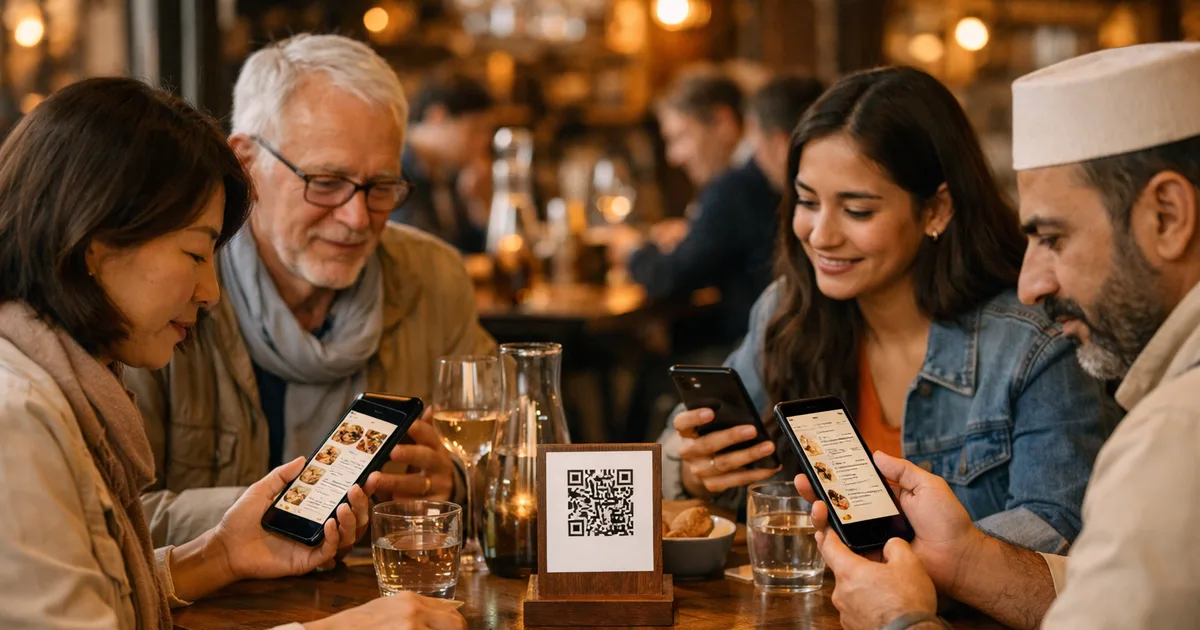
- Multiple languages from one code. Guests tap a language selector and the whole menu — dishes, descriptions, allergens, prices — switches instantly. One printed code covers every language you offer. In a tourist area, this directly converts to higher average spend from guests who can actually understand what they’re ordering.
- Analytics built in. When you can see which dishes guests spend time on and which they skip past, you make smarter pricing and placement calls.
→ Not sure whether a QR menu is right for your restaurant? Start with our free QR code menu generator overview for the no-cost entry point.
AI food photography: the fastest way to launch without a photographer
Most restaurants delay launching their QR menu for one reason: no professional dish photos. A text-only menu works, but it converts worse — guests who can’t visualise a dish are less likely to order it and more likely to ask questions that slow down your staff.
AI food photography removes this bottleneck. You describe the dish in one sentence — “grilled sea bass fillet with capers, roasted cherry tomatoes and herb oil” — and the AI generates a clean, styled, professional-looking photo in seconds. It’s not a photograph of your actual dish, but it’s infinitely better than a blank placeholder, and it gets your menu live today rather than waiting three weeks for a photographer slot.
For your signature dishes, use real photos. For the long tail of your menu — sides, extras, daily specials, seasonal additions — AI photography means no category ever launches with empty tiles.
→ See our full guide on AI food photography for restaurant menus for what the technology can and can’t replace.
QR menu creator types compared
Not every tool marketed as a “QR menu creator” builds the same thing. Here’s how the options stack up honestly:
| PDF-to-QR link | Basic QR menu builder | Full digital menu creator | |
|---|---|---|---|
| Mobile-first layout | No — PDF only | Basic page | Yes, built for phones |
| Dynamic updates | No — re-upload PDF | Yes | Yes, instant |
| Allergen tags per dish | No | Sometimes | Yes, per dish |
| Multiple languages | No | Rarely | Up to 16 from one code |
| AI food photography | No | No | Yes |
| Analytics | No | Basic | Yes |
| Free to start | Often | Often | Yes, no card |
| QR code stays the same | No (static file) | Yes | Yes — print once |
The middle column — a basic builder that serves a live page — is a solid upgrade from the PDF trap. The full creator gives you the features that turn a utility into a genuine guest experience: photos that drive orders, allergen clarity that protects everyone, languages that serve international guests, and data that informs your decisions.
→ For a full comparison of menu formats, see Physical vs digital menus: a complete comparison.
How to build your QR menu in 7 steps
Here is the whole path from zero to live, in the right order.
Step 1 — Choose a dynamic creator, not a static converter
The shortcut of uploading a PDF to a free link generator takes 2 minutes and produces a code that links to a document. Choose a platform that builds a real menu page instead. ShevaFood is free to start — no credit card needed at any point before you go live.
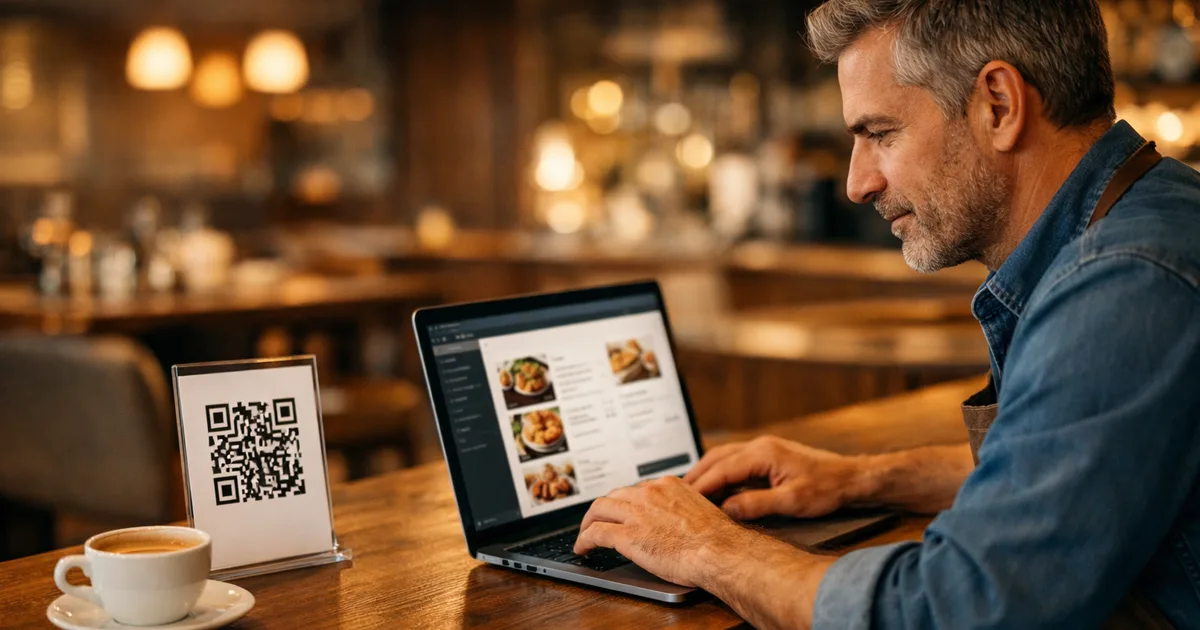
Step 2 — Create your account and set up your profile
Go to ShevaFood and sign up. Add your restaurant name, upload your logo and choose your accent colour. This brand context appears on every page your guests see when they scan.
Step 3 — Build your menu structure before filling it
Add categories first: starters, mains, sides, drinks, desserts — whatever matches your service flow. Logical category architecture means guests find what they want in two taps. Getting this right before adding dishes saves shuffling later.
Step 4 — Add dishes with AI photos, descriptions and prices
For each dish: name, price, description and a photo. This is where AI food photography earns its place — generate a styled shot for any dish you haven’t photographed so no category launches with blank tiles. For your hero dishes, use your real photography.
Step 5 — Tag allergens and dietary labels on every dish
Mark the relevant allergens on each dish. Guests can then filter the menu by dietary need — no more verbal allergen questions at the table, no ambiguity about whether the risotto contains dairy. In the UK and EU this is a legal expectation for food businesses, not optional practice. → For a deeper look, see our guide on QR menus with allergen tags.
Step 6 — Switch on the languages your guests speak
Enable each language in a single toggle. Smartphone cameras on iPhone and Android have read QR codes natively since 2017 — the barrier for your guests isn’t the scan, it’s whether the menu they land on is readable in their language. In a tourist area, enabling French, Italian, Spanish and German costs you one toggle each.
Step 7 — Generate your QR code, print, test and go live
Download your QR code. Print it onto table cards — 3 × 3 cm is the comfortable minimum for scanning from a seated position. Before placing codes on tables, scan with both an iPhone and an Android, walk through your whole menu, switch languages, and confirm every price. When it looks right on both: live.
→ For a faster walkthrough with screenshots, see How to create a QR menu in 5 minutes.
Build your QR menu today — free to start
No credit card required
✨ Live on your tables in under an hour — cancel anytime
Frequently asked questions
A QR menu creator is an online platform that lets you build a digital restaurant menu — with categories, dishes, prices, photos, allergens and languages — and automatically generates a QR code that opens that menu in any smartphone browser. No app required for guests. No technical skills required to build it.
Sign up on a QR menu platform, build your menu with categories, dishes, photos and allergen tags, then download the QR code the platform generates automatically. Print it on table cards or stickers. The code points to a live page — it never needs changing when you update prices or dishes.
No. Modern QR menu creators are built for restaurant owners, not developers. If you can fill in a form and upload a photo, you can have a complete digital menu live in under an hour. AI food photography tools inside the platform mean you don’t need a professional photographer to launch.
Look for: a mobile-first layout (not a PDF viewer), dynamic updates without reprinting, per-dish allergen tags, multilingual menus from one printed code, AI food photography, and a free plan to test before paying. A tool that only converts a PDF to a QR code fails on most of these.
Most platforms offer a free starting plan with no credit card required. Paid plans typically run €10–€30/month and unlock unlimited menus, advanced analytics, team collaboration and full multilingual support. A single menu reprint often costs more than a month’s subscription — and reprints happen every time something changes.
Yes. Platforms with built-in AI food photography generate a professional-looking dish image from a text description in seconds. Describe the dish, the AI produces a clean, styled photo. Better photos mean guests know what they’re ordering — which consistently lifts average order value and reduces dish returns.
The bottom line
A QR menu creator is the infrastructure behind every table in a modern restaurant. Choose a dynamic one — not a static PDF converter — and you get instant updates, allergen clarity, multilingual reach, and food photography that removes the last excuse to delay going live. The whole setup takes under an hour, and everything after that is a matter of seconds per update.
Ready to build yours? Create your free ShevaFood account and your QR menu can be on the tables before your next service.
Sources
- Scan a QR code with your iPhone camera — Apple Support
- Scan QR codes on Camera from Google (Android) — Google
- Allergen guidance for food businesses — Food Standards Agency (UK)