New Feature: Collaborators (Menu Management Guide) 🤝
Running a restaurant is already a full-time job. With Collaborators, you can delegate menu editing to trusted staff—without handing over everything. Here’s how to invite a collaborator, choose permissions, and keep your menu accurate every day.
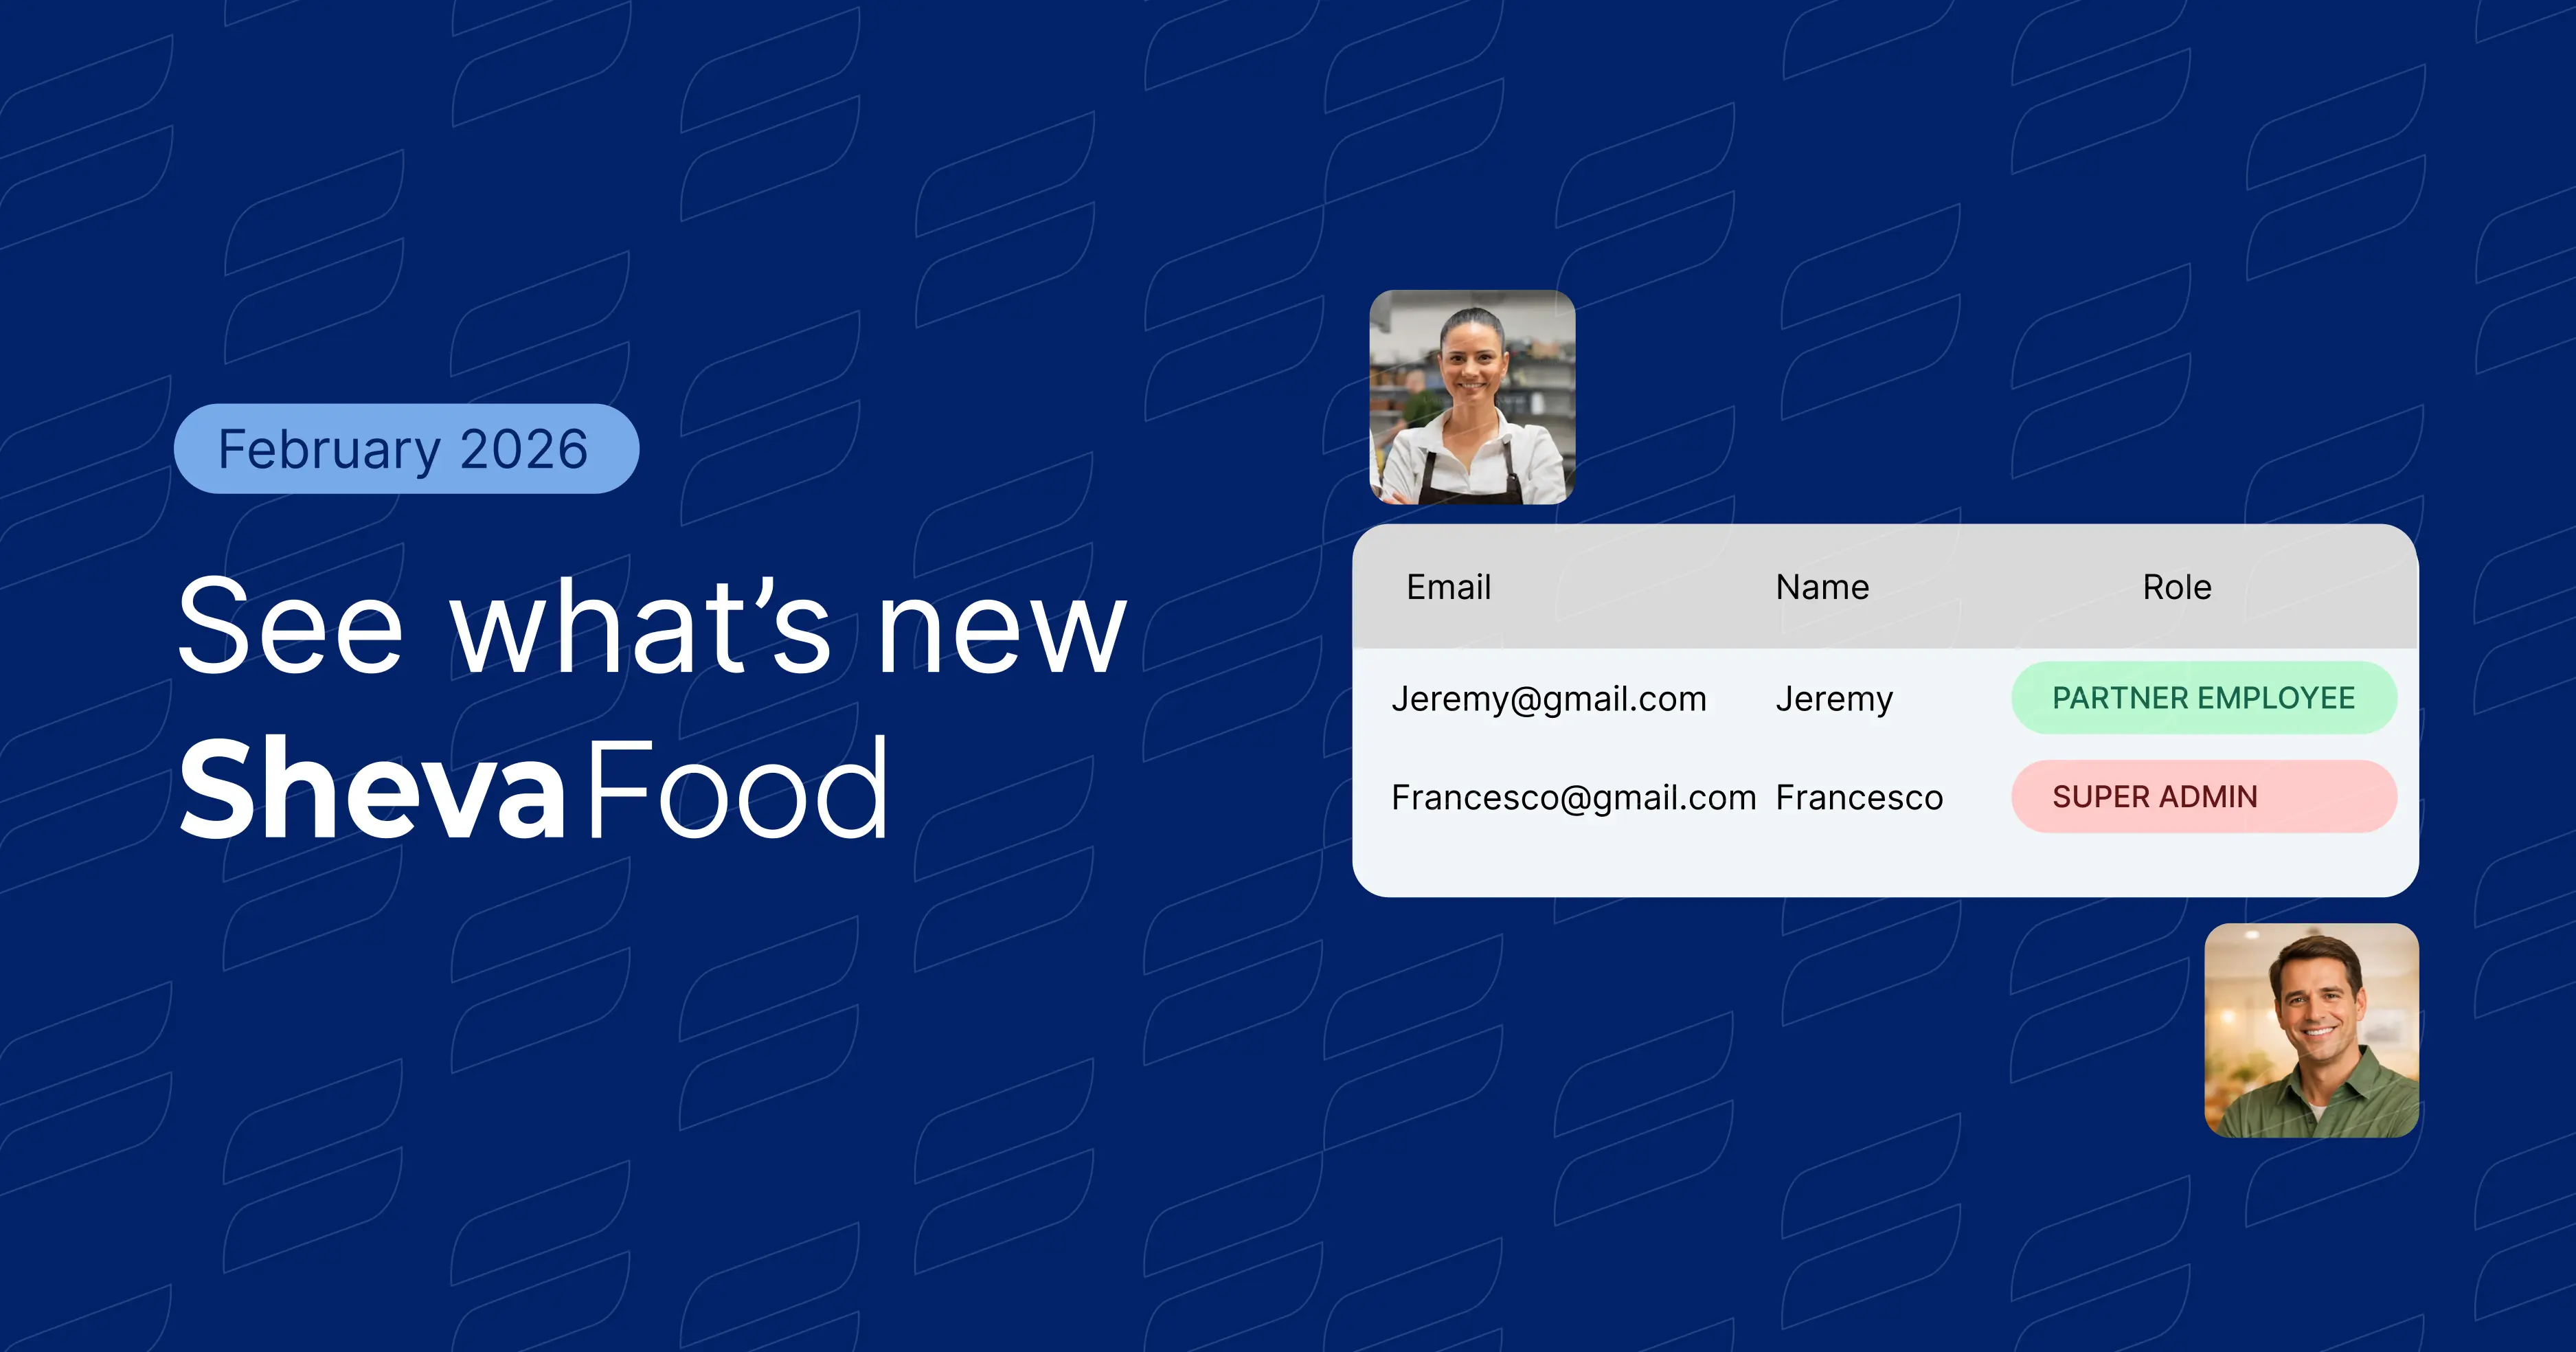
Collaborators: Delegate Menu Management (Without the Daily Stress)
Restaurant days move fast. Menu updates shouldn’t slow you down.
With our new feature Collaborators, you can delegate menu editing to trusted staff for smoother restaurant menu management—while keeping control over permissions.
This guide shows how to invite a collaborator, choose access, and use the feature in real service.
Why Collaboration Matters in Restaurants and Cafés
What is a collaborator?
A collaborator is a trusted team member you invite into Shevafood to help with menu editing and day-to-day restaurant menu management.
It’s made for real hospitality teams — teamwork in cafés, restaurants, and hotel outlets, where menus change often and managers/owners shouldn’t be the only person responsible for every update.
Key benefits (for busy hospitality teams)
- Delegate menu management to the people closest to the day (kitchen, bar, shift leads)
- Save time on daily changes so you can focus on strategy—not admin work
- Reduce mistakes with clearer ownership, faster updates, and fewer “we’ll fix it later” moments
What collaborators can do
Collaborators can:
- Add new menu items
- Edit prices
- Upload or change dish images
- Add or delete items when your menu changes
- Access analytics and reviews to understand what guests actually view and click
Super Admin controls
As a Super Admin, you can:
- Add up to 2 collaborators
- Temporarily disable menu access anytime (useful if you want to pause access without deleting the collaborator)
Step-by-Step: How to Add a Collaborator
Below is the simple workflow to invite a collaborator and start delegating menu editing safely.
Note: The exact labels in your dashboard may vary slightly as we keep improving the product, but the steps and intent stay the same.
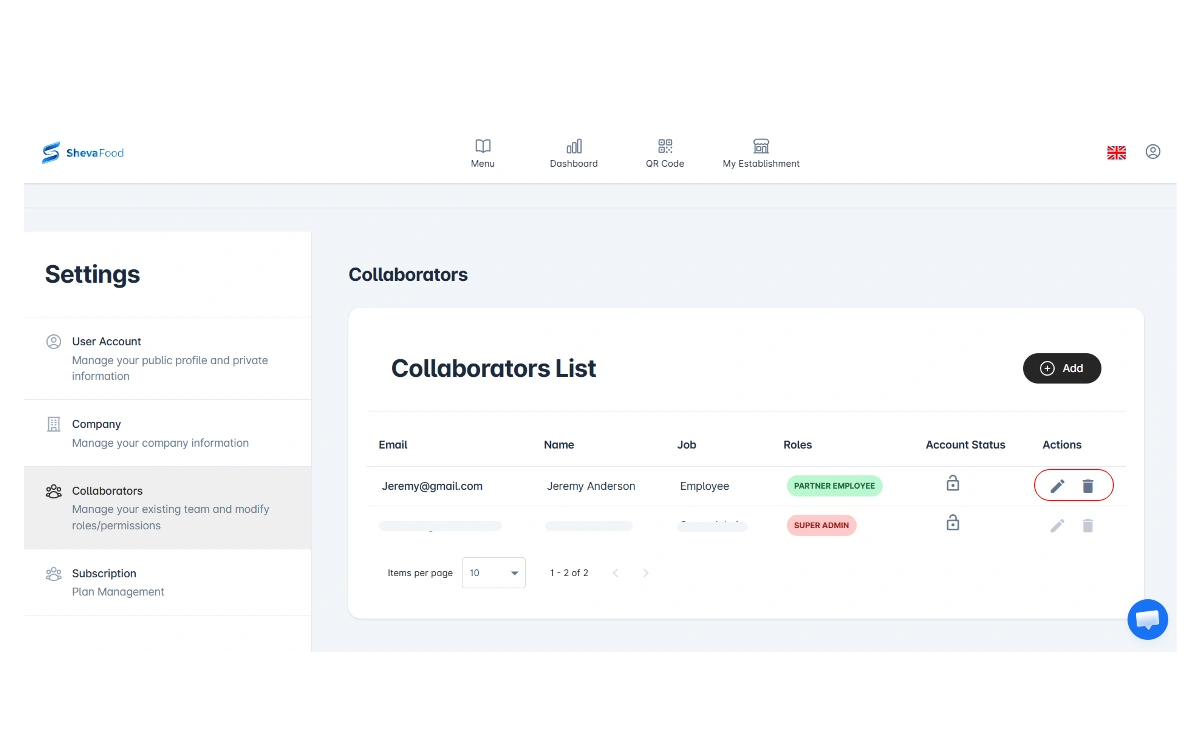
Step 1: Open Collaborators in Your Dashboard
- Sign in to your Shevafood dashboard.
- Go to Settings (or Team / Collaborators, depending on your layout).
- Click Collaborators.
.webp)
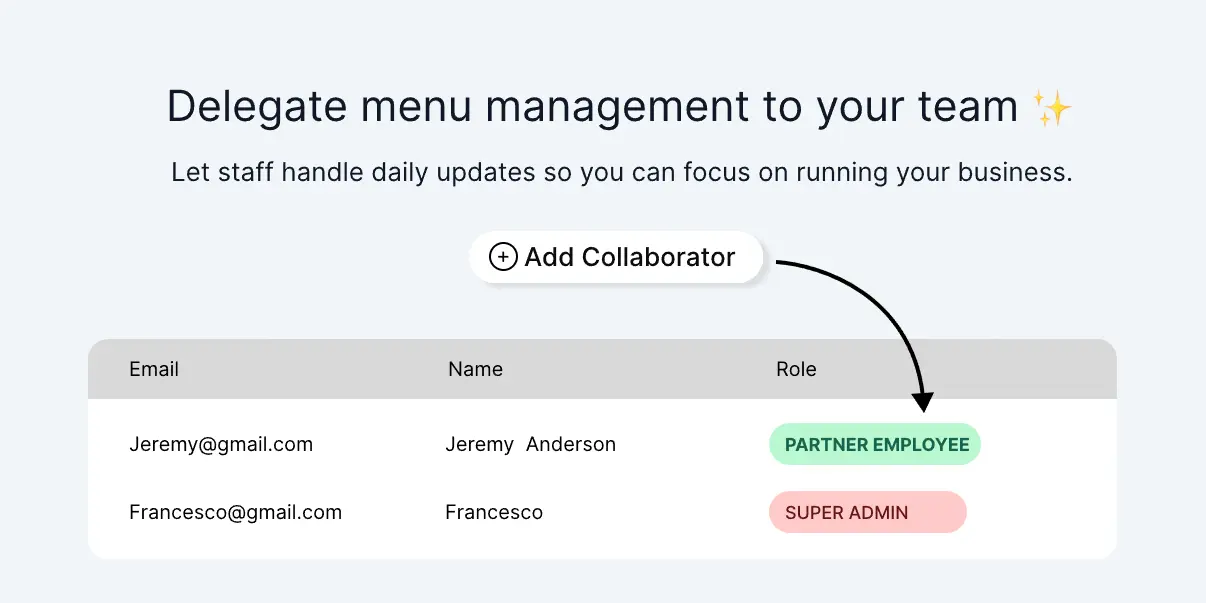
Step 2: Click “Add collaborator”
- Click Add.
- You’ll see a short form where you can add the person’s details as show in the below image.

Step 3: Enter their name and emails and choose permissions
- Enter your collaborator’s First and Last name.
- Enter your collaborator’s email address.
Enter their password.
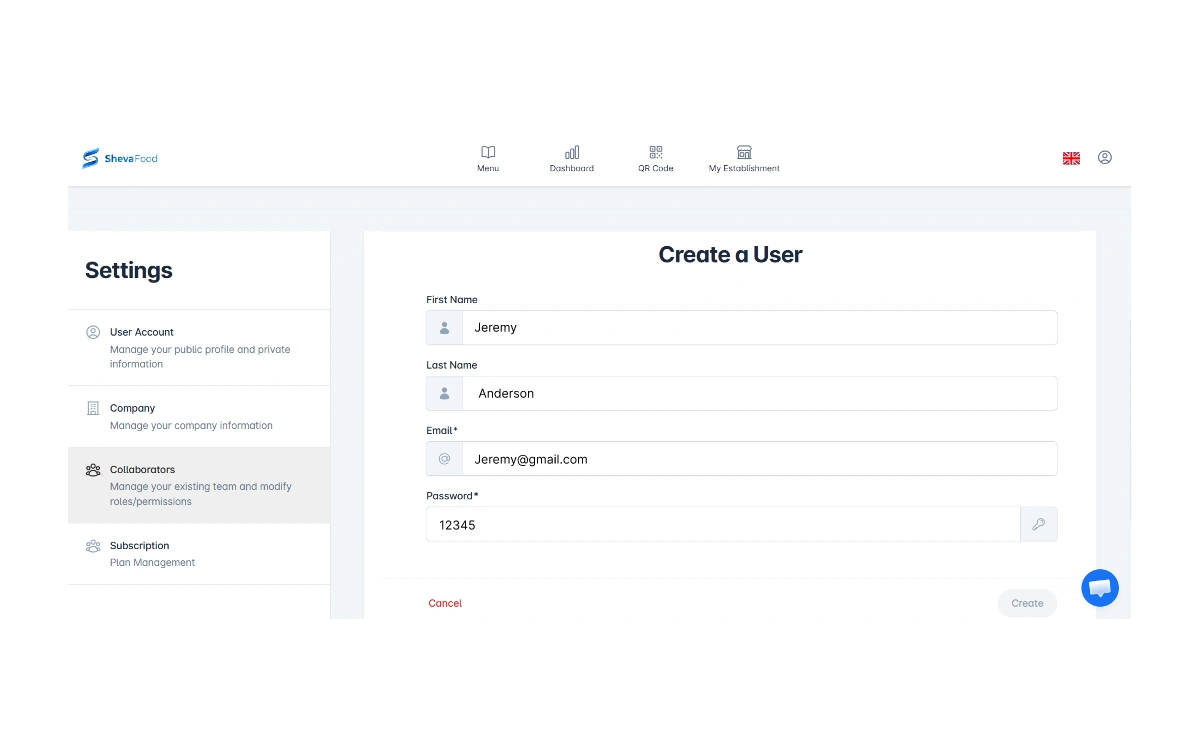
Before you click Create, copy the collaborator credentials and share them with the team member (securely).
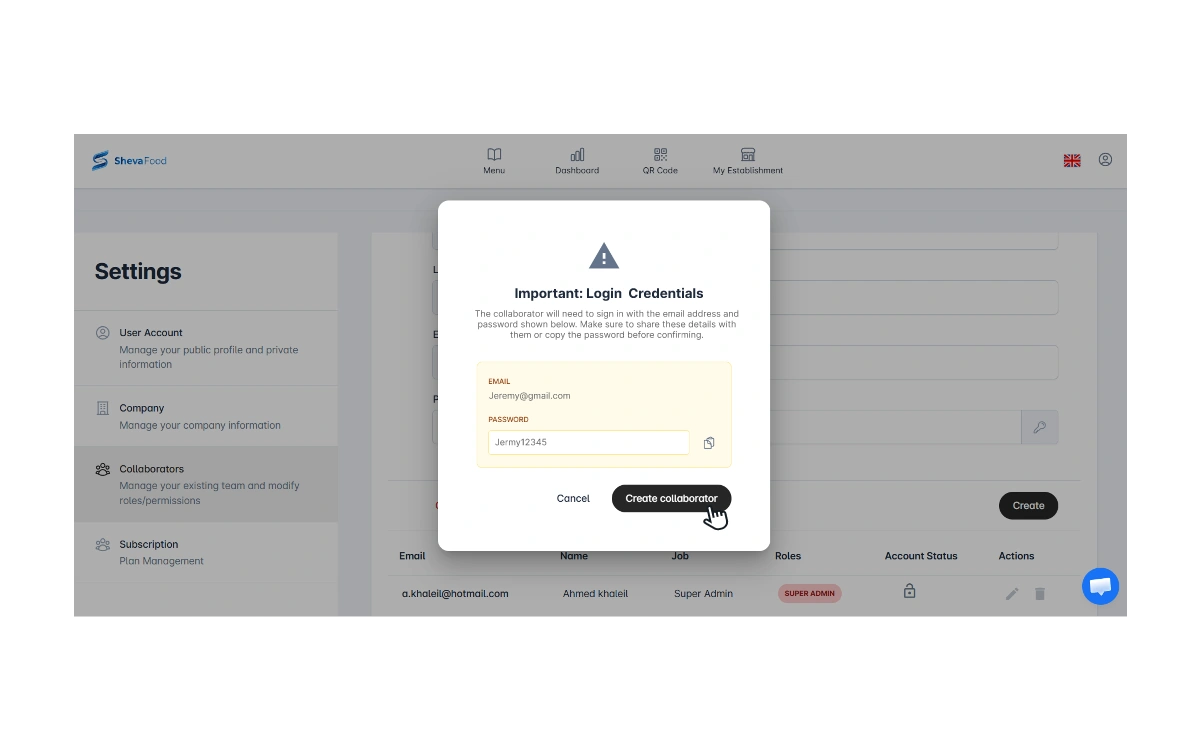
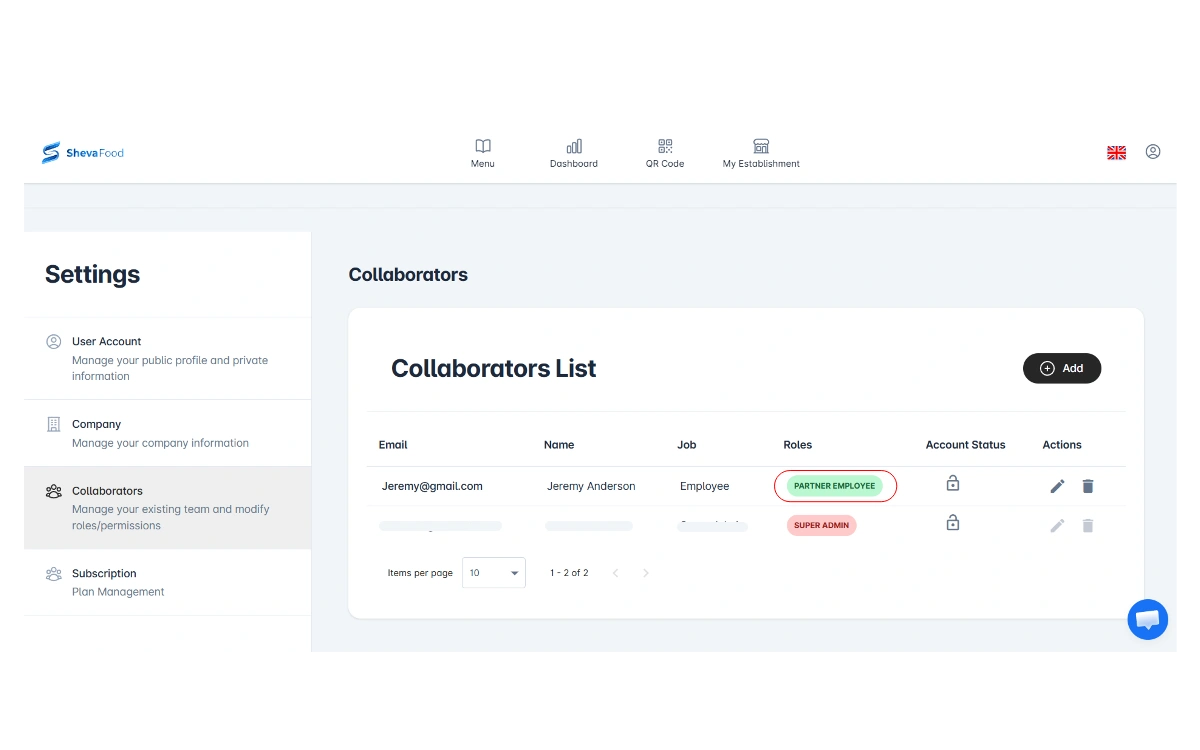
Click Create Collaborator. After you create the collaborator, you’ll see them added with their role shown as Partner Employee in green (as shown below).
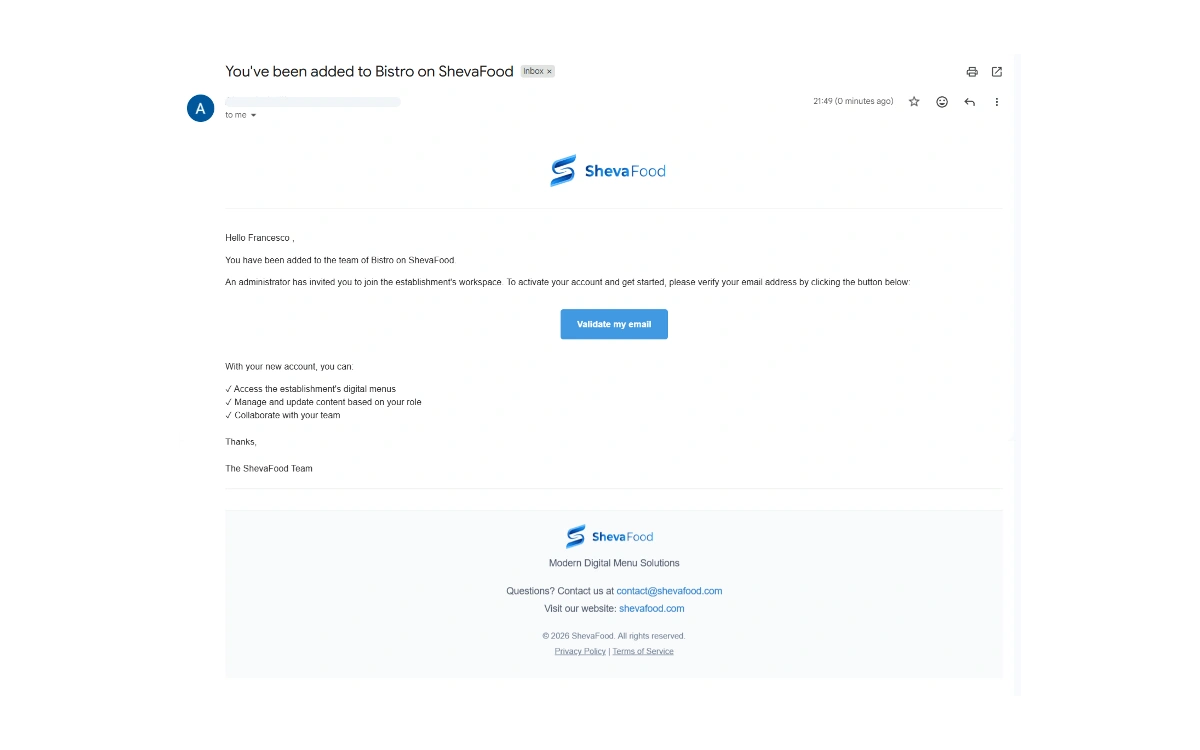
Step 4: Collaborators accept the invitation and verify their email
After you click Create, the collaborator will receive an invitation email at the address you entered in Step 3.
They need to:
- Open the invitation email
- Accept the invitation
- Verify their email (if prompted)
Once they complete this, they can sign in and access the menus you shared.
Step 5: Collaborators now have access to your menu
Once the collaborator accepts the invite and verifies their email, they’ll have full access to your menu and can start helping right away. So they can:
- Add new menu items
- Edit prices
- Upload or change dish images
- Add or delete items when your menu changes
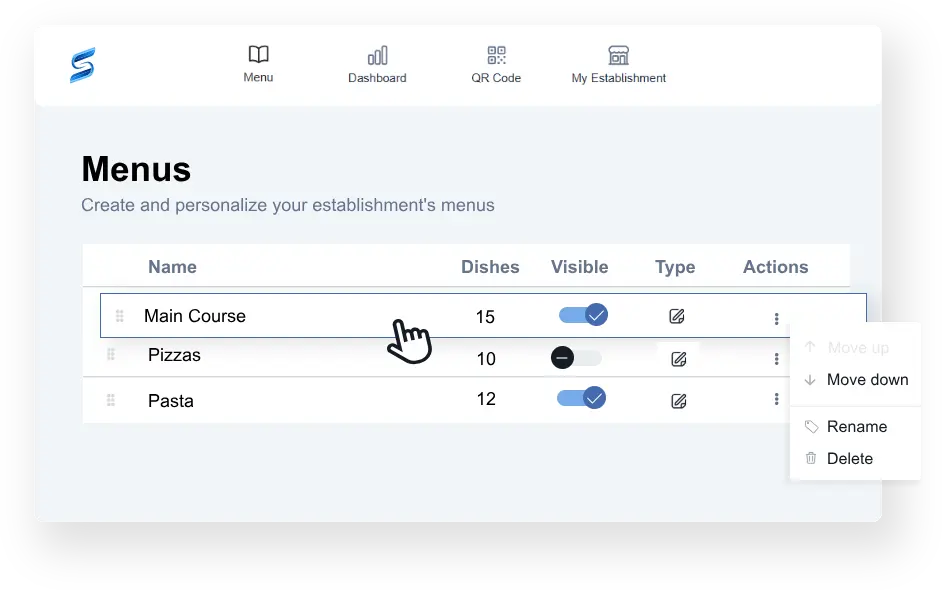
From Actions, you can manage access at any time:
- Delete the collaborator if you no longer need them
- Lock / disable their access for a period of time (without deleting the account)